This is the most important tutorial for creating the Setup File(.exe file) from windows forms application.You can easily install it any windows computers.You can use it only windows platform.
In previous tutorial i have shown "How insert data is database and print the grid-view data in windows forms application"
Now i am going to convert these windows forms application to the Setup File. Friends who have not read my previous tutorials please read first this tutorial and download it, otherwise you will not understand correctly.For read the previous tutorial .
There are some steps to create Setup File From windows forms applications. please follow these steps carefully.
Step1:- First open your windows form application in your visual studio.Here i am using visual studio 2010 and my windows forms application Name is "test",which had made in previous tutorial.you can download it Clickdownload.
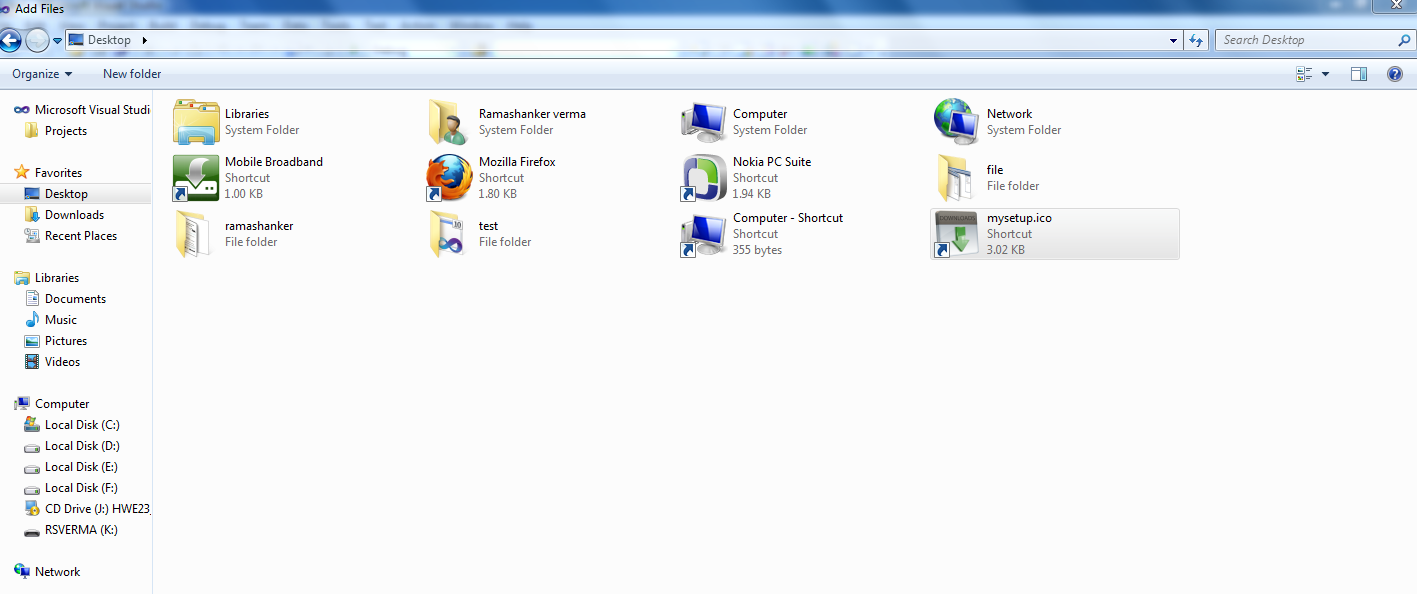
Now i am going to open "test" application in visual studio 2010,my "test" application is on desktop. See it carefully and open your application together.

Step2:- Now open "test" application in visual studio 2010,which is given below, follow it. Open visual studio 2010->File->Open project/solution->select the application "test"Folder_> click open.
See it:-

Step3:- First see Form1.cs,Form2.cs and Solution Explorer window for remember previous post.
Form1.cs:->

Form2.cs:->

Step4:-> Now open solution explorer(if not open)->Add New Item->Select Application Configuration File->Click Add
See it:->

See App.Config File:-It is used for creating connection to the database. It is optional.

Step5:- First create table in database,here i am already created "RAM"table in previous tutorial.See it:

- write the connection string for creating the connection database table "RAM" in app.Config file.if You want to create otherwise escape it
See it:->

Step6:- Now this is main step to create the step. Open Solution Explorer->Click on 'solution'test'('project)->Add New Project->Select other project types from left window->Select visual studio Installer->Select the setup Wizard-> write your setup name in below(mysetup)->click OK.


Step7:-
- One wizard will be opened->click 'Next' Button.

- Select Radio button "Create a setup for a windows application" ->Click Next.
See it:-

- Select "Primary output from text"-> Click Next.

- Click Add Button->go your application folder,which you want to create setup.

- Select the "App"File from your project ("test")-> click Open Button.

- Now click Next Button.

- Click Finish Button.

- Now click Application Folder From left side window.

- Go right side window-> Right mouse click ->Add file->select icon file (extension . icon) , This icon will show on Your desktop when you install the setup on computer.

- Now create shortcut file of "Primary Output File" by l Right mouse click on Primary Output File.


- Now change shortcut folder, here i have changed 'mysetup'.
See it:

- Now Right mouse click on ' mysetup' Shortcut and go property window.

- Click Icon and select browse.

- Click Browse Button.

- Click Application Folder and select "mysetup"Icon file->click OK.

- Again select icon file and click OK button.

- Drag and drop 'mysetup shortcut' User's Desktop (left side window).

- Now again create shortcut primary output->rename it again mysetup -> again add icon File from the mysetup property window as before we have added.

- Now Add New Folder in "User's program menu"(left side window) and change Name it as setup->Now again Drag and Drop mysetup shortcut to the setup.

- Now go "Solution Explorer window"-> Right mouse click on mysetup->Click Build. wait some time whenever setup is not successfully build-> Your setup is build successfully->Go and open your application Folder("test").


- click mysetup:-

- ->Click Debug Folder.

Step8:- Before installing the setup you First install .NET FRAMEWORK 4.0 on your system,Click here for download . whenever you install this setup on your window (OS) and open it then you will see like this:-

No comments:
Post a Comment